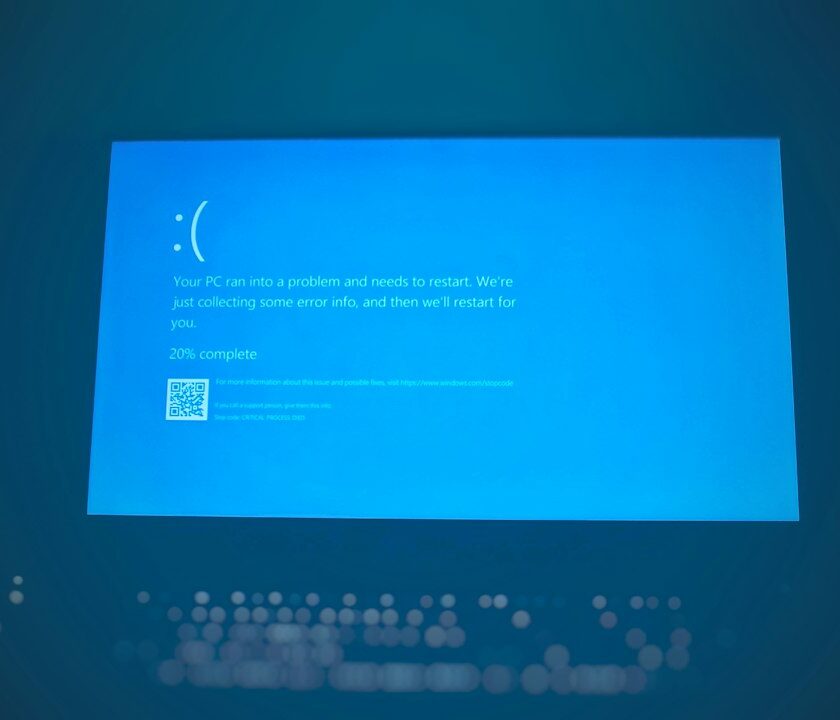
These laptop overheating repair tips start with the obvious and then move into the hidden causes that people miss when a machine feels too hot to touch, gets loud during basic tasks, or slows down the moment a browser tab or spreadsheet opens. I like to begin with simple checks because heat problems often stack up: a blocked vent, a packed fan, an aggressive background app, and old thermal material can all push the same laptop past its comfort zone.
What makes heat issues frustrating is that they often look like something else. A user hears the fan and assumes the fan itself is bad. Another person notices lag and assumes the storage drive is failing. Sometimes both ideas are wrong. The machine may be fighting poor airflow, dust buildup, or a power profile that keeps the processor running harder than it needs to. The good news is that many of the early steps are inexpensive, fast, and easy to verify.
Before you open the chassis or order parts, it helps to gather a baseline. Listen for fan noise. Notice whether the bottom of the case gets hot only under load or stays warm at idle. Watch for random shutdowns, sudden throttling, or battery drain that seems faster than normal. Those clues tell you whether you are dealing with a cleaning issue, a cooling hardware issue, or a combination of both. If you want more hands-on help after the basics, our contact page is a simple way to reach a technician who can help you sort out the next step.
laptop overheating repair tips that start with the outside of the machine
The outside of a laptop matters more than people think. A machine can have a healthy fan and a clean heatsink inside, yet still run hot if the vents are blocked or the laptop is sitting on a soft surface. I have seen more than one device blamed for a cooling problem when the real issue was a couch cushion, a blanket, or a desk mat that covered the intake holes on the bottom. Heat needs a path in and a path out. If either side is crowded, the system starts working harder than it should.
Begin by placing the laptop on a hard, flat surface. Then look at the intake and exhaust openings from a few angles. Use a bright light if you have one. You are looking for lint, pet hair, paper dust, or a layer of grime that has formed around the edge of the grille. A vent does not have to be fully sealed to cause trouble. Even a partial blockage can change how air moves through the case and make the fan spend more time at high speed.
Pay attention to the room as well. A hot day, a crowded desk, or a laptop pushed against a wall can trap warm air around the chassis. If the back of the machine is nearly flush with a wall or a stack of books, the exhaust can bounce right back into the intake side. Small changes often help more than people expect. Raise the rear edge a little, move the laptop away from walls, and make sure nothing soft is pressing against the underside. If that improves the situation, you have learned something important before taking the machine apart.
- Use a hard, level surface instead of fabric or carpet.
- Keep the rear exhaust area open on both sides.
- Check for lint around every vent opening.
- Move power adapters and cables away from exhaust paths.
- Test the machine in a cooler room if the environment is unusually warm.
What dust does once it gets past the vents
Dust is not just a cosmetic issue. Inside a laptop, dust behaves like insulation. It clings to fan blades, collects in heatsink fins, and forms a fuzzy mat that slows airflow. The result is predictable: the cooling system has to move more air to do the same job, and after a while it cannot move enough. That is when you start to hear the fan spin up faster than before, or notice the processor slowing itself to keep temperatures in range.
The tricky part is that dust rarely appears in one dramatic lump. More often it spreads in thin layers where you cannot see it from the outside. A laptop that looks clean at the grille may still be packed with debris around the fan housing. That is why a quick visual check is only the beginning. If the machine is older, has lived near pets, or has been used on soft surfaces for long stretches, the odds of internal buildup go up quickly.
When you clean a laptop, use a calm approach. Short bursts of compressed air can help dislodge loose dust, but do not blast the fan so hard that it overspins like a tiny generator. Hold the fan blade in place if you can reach it without strain, and keep the can upright. If the buildup is heavy, a full cleaning may require removing the bottom cover so you can reach the heatsink fins and fan cage directly. That is often where the real improvement comes from, because the airflow path becomes visible instead of guessed at.
After cleaning, check whether the fan noise changes and whether the chassis stays cooler during the same workload that used to push it hard. A better result after dust removal usually means the cooling path was the main issue. If nothing changes, the problem may be deeper than debris alone, which is why the next steps matter.
How to open the laptop without making the problem worse
Opening a laptop is where people sometimes rush and create a second problem. The goal is not just to get inside. The goal is to get inside without stripping screws, cracking clips, or pulling on a cable that should have stayed seated. If you have never opened that specific model before, take a few minutes to find a service guide, a teardown video, or at least clear photos of the underside. Every laptop brand has its own habits, and guessing is a good way to turn a cooling job into a parts hunt.
Start with power fully disconnected. Remove the charger. If the battery is removable, take it out. If it is internal, use the proper shutdown and disconnect sequence before touching the board area. Keep screws organized by location because manufacturers often use different lengths in different parts of the shell. A screw that is too long in the wrong hole can damage the board or poke through the palm rest. That is one of those mistakes that feels tiny in the moment and becomes expensive later.
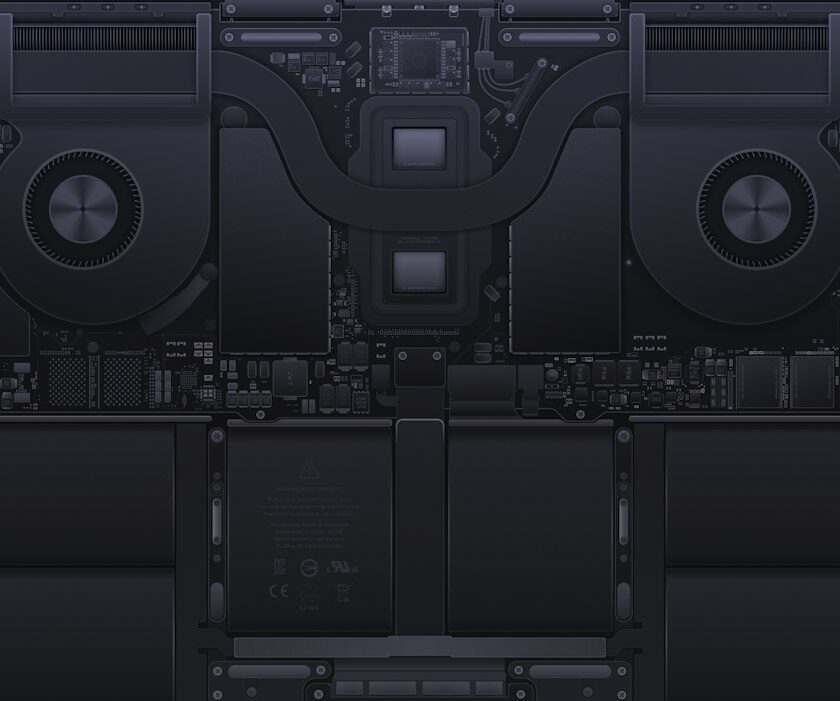
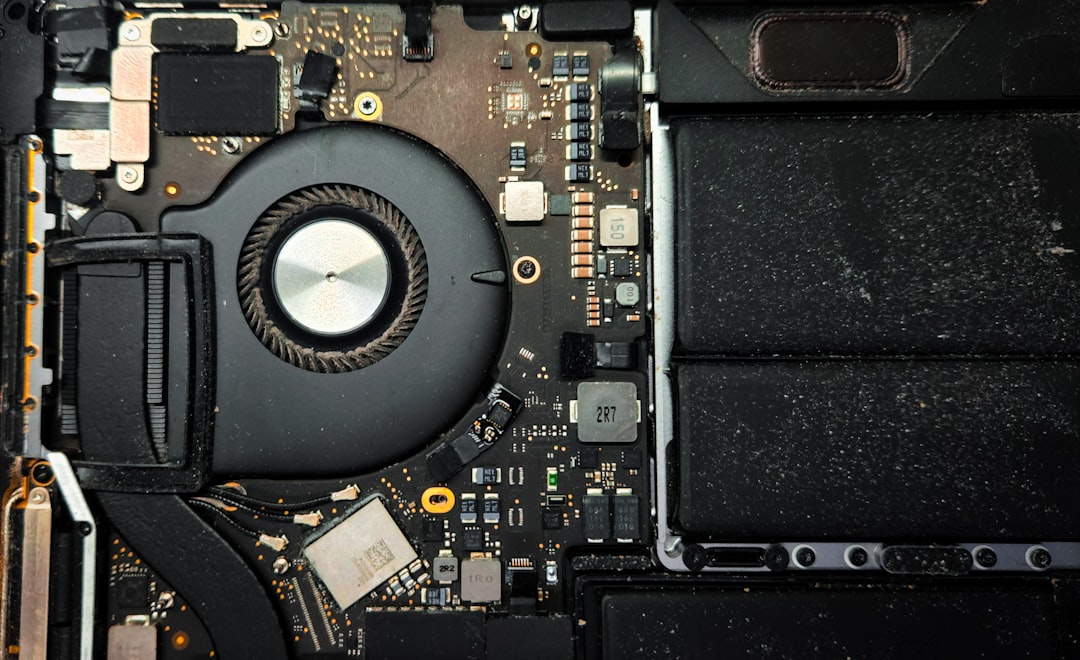
Once the cover is off, do not reach for the first connector you see. Look first. You want to identify the fan, the heatsink pipe or pipes, the battery, the storage drive, and any cable that crosses the cooling path. Many laptops use thin cables that sit very close to the fan housing. A cable may not look damaged, yet if it is pressed against a blade or tucked into a hot corner, it can create noise or wear over time. Good repair work is careful work. The point is to understand the layout before changing anything.
If the cover resists, stop and check for hidden screws or plastic clips. Forcing it usually causes more harm than patience. A successful cooling repair starts with a case that still fits together cleanly when you finish.
Fan and heatsink checks that tell you a lot fast
The fan and heatsink are the heart of the cooling system, so they deserve a careful look. A fan that barely starts, rattles at low speed, or makes a ticking sound may be near the end of its useful life. A heatsink that is full of dust or bent fins can block air even if the fan itself still works. It is common to find both issues together, which is why a full inspection beats a quick assumption.
Spin the fan gently with a finger or a tool that will not damage the blades. It should move smoothly. If it feels gritty, catches, or stops abruptly, that is a sign something is wrong in the bearing or that debris is lodged in the hub. Listen for the sound of the fan motor while the machine is on. A healthy fan usually changes speed without a harsh scrape or wobble. A weak fan may start and stop repeatedly, which often means the control system is trying to respond to heat but the airflow is not keeping up.
The heatsink side matters just as much. Trace the copper pipe or metal block from the processor toward the fin stack. If the fins are packed with lint, the fan may be doing its job while the air still has nowhere to go. Also check that the heatsink assembly sits evenly on the chip area. If one corner looks lifted or the mounting screws seem uneven, contact between the chip and the cooler may not be as good as it should be. That uneven contact can cause hot spots even when the fan sounds normal.
- Look for fan wobble, scraping, or uneven startup.
- Check for dust packed between heatsink fins.
- Confirm that the cooler sits flat on the chip area.
- Watch for cables rubbing against the fan path.
- Replace a noisy fan instead of hoping it settles down.
Thermal paste, pads, and the contact surface under the cooler
Thermal paste and thermal pads are easy to ignore because they sit under the cooler and do not look exciting. They matter a lot. Their job is to help heat move from the processor or graphics chip into the cooler. Over time, paste can dry out, spread unevenly, or lose the smooth contact that made it useful in the first place. Pads can also flatten, crack, or fail to bridge the gap they were meant to cover. When that happens, even a clean fan and heatsink can leave the chip running hotter than it should.
I like to think of this step as checking the handshake between the chip and the cooler. If the interface is bad, the rest of the system has to work harder. Old paste often shows up in machines that are a few years into regular use, especially if they have spent long periods under load. That said, not every hot laptop needs a paste job. If a device is only a year old and shows a sudden temperature jump, I look at dust, fan behavior, and software load before touching the compound. The age of the machine and the pattern of the problem both matter.
When paste is renewed, the surfaces should be cleaned properly and the cooler should be seated evenly. Too much compound can be almost as unhelpful as too little. The goal is a thin, even layer that fills microscopic gaps, not a thick blanket. Thermal pads deserve the same care. If a pad was meant to sit on a memory chip or power component, replace it with the correct thickness. Guessing here can create new pressure problems or leave a part without contact.
If you are unsure whether the paste or pads are the issue, look at temperature behavior before and after cleaning. If temperatures drop a little after dust removal but remain unusually high under load, contact material may be the next thing worth revisiting.
Software load can make a cool laptop look broken
Not every heat problem begins with hardware. Sometimes the laptop is doing too much work in the background and making itself hot for reasons that are easy to miss. A browser with too many tabs, cloud sync tools, indexing tasks, game launchers, updates, and even a stuck app can keep the processor busy long enough to raise temperatures. When that happens, the fan may sound guilty even though it is reacting to a software load rather than a broken part.
I like to check the task manager or activity monitor before replacing hardware. This gives you a picture of what the laptop is actually doing when it gets hot. If a single app is eating processor time or memory, that is useful information. If the machine stays warm at idle because multiple background tasks restart every few minutes, the fix may be a combination of software cleanup and power setting changes. A cooling system can only do so much if the workload never settles down.
Power profiles matter too. Some laptops use aggressive performance modes that keep clocks high even when you are just reading email or writing notes. Switching to a balanced profile can reduce heat without making the machine feel unusable. Firmware updates can also change fan curves, power limits, and thermal behavior. That does not mean every update helps, but it does mean you should check whether the manufacturer has released a fix for thermal management or fan control before you assume the hardware has failed.
It helps to test the machine in stages. Close heavy apps, reboot, let the system sit idle, and note the temperatures again. Then open a normal workload and watch the change. A laptop that cools down quickly after software cleanup was probably not suffering from a mechanical failure at all. That is a useful outcome because it costs less and tells you where to focus next time.
How to test temperatures without chasing numbers you do not need
Temperature testing is useful when it helps you see a pattern, not when it turns into obsession over one decimal place. You do not need laboratory precision to decide whether a fix helped. You need repeatable conditions. Use the same room if possible. Use the same power source. Open the same apps or run the same workload. Then compare the results before and after cleaning, fan replacement, or a paste refresh.
A simple test can be enough. Let the laptop idle for a few minutes and note the fan behavior. Then open a typical workload like a video call, a large spreadsheet, or a browser session with the same tabs you use every day. Watch how quickly the temperature rises and whether the fan ramps smoothly or suddenly jumps to a loud, constant speed. A cooling system that reacts in an even, predictable way usually tells a better story than one that stutters or surges.
If you use monitoring software, focus on trends. Look at idle temperature, load temperature, and how long the machine takes to cool back down after the workload ends. A laptop that drops several degrees once the app closes is showing that airflow is probably working. A laptop that stays hot long after the task ends may have a lingering issue with contact, airflow, or a fan that cannot return to normal speed. That difference is useful because it tells you whether the problem is immediate or persistent.
Write down what you see. Even a small notes file helps. If you later compare a before-and-after test, you will know whether the repair changed anything. Guessing from memory usually leads to confusion, especially if the laptop has multiple issues at once. Good testing is less about numbers and more about showing a clear change in behavior.
When the problem is a failed part instead of a dirty one
Some heat problems are not about maintenance at all. Parts wear out. Fans get noisy and weak. Power components on the motherboard can run unusually hot. Batteries may swell and change internal airflow. Chargers that deliver unstable power can make a laptop behave strangely under load. The point is not to fear every component. The point is to know when cleaning has already done its job and a real failure is still there.
A failed fan is one of the easiest examples to spot. If it does not spin consistently, makes a grinding sound, or behaves differently at the same workload after cleaning, replacement is often the sensible next move. A damaged heatsink or bent fin stack may also need replacement rather than another cleaning pass. On some models the heatsink is easy to replace, while on others it is part of a larger assembly. That affects both the repair plan and the cost.
Motherboard heat is a different conversation. If a laptop gets hot in one corner near the power circuitry or burns through battery life even after the cooling path looks clean, the root cause may be deeper than dust or paste. That is where a technician can save time by checking voltage behavior, board condition, and charging response. The same is true for a swollen battery. A battery that has started to expand should not be ignored because it can press against nearby parts and change how the laptop vents heat.
One practical way to decide whether a part has failed is to compare behavior before and after the most obvious fixes. If cleaning, paste renewal, and software cleanup all produce only a tiny change, the machine may be asking for a component-level repair. In that case, replacement is not a guess. It is the next logical step.
Repair, replace, or upgrade: how I think about the decision
There is a point where the question is no longer whether the laptop can be made cooler. The question becomes whether the repair is worth it for the age and use case of the machine. I like to look at three things: the age of the laptop, the price of the part or service, and the role the laptop plays in daily work. A five-year-old office laptop with a noisy fan is a very different decision from a two-year-old machine that your business depends on every day.
If the fix is simple, like a clean-up or a fan replacement, the math often leans toward repair. If the machine needs several parts, a complicated disassembly, and a possible battery swap on top of that, the balance changes. I also think about workload. A laptop used for email, docs, and browsing can tolerate a different repair threshold than one used for video editing, CAD, or large data work. The heavier the workload, the more important stable cooling becomes.
It also helps to consider how long you expect to keep the machine. If the laptop is already close to the end of its useful life, a repair may only buy you time. That is still valuable if you need a few more months before changing systems. If the laptop still has good battery health, a solid keyboard, and enough memory for your work, a targeted cooling repair can make sense. If several other parts are already failing, upgrading may be the cleaner path.
There is no universal answer here, but there is a practical one. Compare the repair cost with the value of the machine to you, not just the market price. That is often the real decision.
laptop overheating repair tips you can use as maintenance, not emergency cleanup
The best time to think about cooling is before the laptop starts shutting itself down. Regular maintenance keeps small problems from stacking up. I like to build a light routine around the same habits that prevent dust and heat from becoming a bigger project later. That means checking vents, watching fan behavior, and paying attention to changes in noise or temperature instead of waiting for a crisis.
Every month or two, give the outside of the machine a quick look. Make sure the vents are open, the surface is clean, and the laptop is not being used in a way that traps heat. Every few months, review the apps you let run in the background. Update the operating system and firmware when the release notes mention power or thermal fixes. If the laptop lives in a dusty room, near a pet, or in a bag most of the day, shorten that maintenance interval. Conditions matter more than calendars.
It also helps to keep an eye on habits that quietly add heat. Charging while gaming, resting the machine on soft furniture, and running high-performance modes all day can shorten the gap between normal use and thermal stress. None of those choices is automatically wrong, but they do shape how hard the cooling system has to work. A laptop that is asked to do more than it was designed for will always need more attention.
- Keep vents open and dust-free.
- Check fan sound before you ignore it.
- Use balanced power settings for routine work.
- Reduce background load when you do not need it.
- Revisit thermal cleaning on a schedule that matches the environment.
Good maintenance is really just keeping the laptop in a state where the cooling system can do its job without drama. That is what makes a machine feel reliable over time.
What to bring to a technician when the DIY path stops
There comes a point where a careful owner should hand the job to someone with more tools, more parts, and more test equipment. When that happens, the best thing you can bring is clear information. Describe when the laptop gets hot, what you already cleaned, whether the fan noise changed, and what happened after each test. That saves time and helps the technician avoid repeating steps you already completed.
If you can, note the laptop model, approximate age, and the exact workload that causes the heat. A machine that overheats during video calls may need a different fix than one that gets hot only during rendering or gaming. If the battery swells, the fan fails to start, or the machine shuts down without warning, say that plainly. Those details change the repair plan. Photos can help too, especially if there is visible dust, damaged vents, or a bulging battery pack.
Good service is usually faster when the problem is described in concrete terms. Instead of saying the laptop is just bad at staying cool, say that the fan runs loudly after five minutes in a browser, the bottom-left corner is hotter than the rest of the case, and cleaning the vents only improved it a little. That kind of note helps a technician focus on the right parts, the right tests, and the right replacement path.
In the end, cooling repairs are usually about disciplined observation. The machine tells you what it needs if you pay attention long enough. Sometimes that answer is a cleanup. Sometimes it is a fan or paste job. Sometimes it is a larger board-level issue. The faster you separate those possibilities, the easier the whole job becomes.